

My wedding day was (unsurprisingly) promising to be a hot one. The end of September around Atlanta can be anywhere from the 60s to the 90s...so I knew if I was going to have an outdoor wedding, I'd better make some preparations for unruly weather.
What better way for our guests to beat the heat than with something they are already going to have in their hand....like...maybe....a program?
Hello?! This is an incredible idea!
An incredible idea that I wish I could say was totally my own without any outside influences whatsoever.
It's not.
BUT...I am a fearless and totally unrepentant copycat-er, especially when it comes to the dual purpose awesomeness of something like this. So, I (obviously) have no problem recycling other smarter and probably more fashionable people's ideas and using them for my own.
Enter the program fan:

During all the hustle and bustle of the ninety-three kajillion things I had to make/prep/do for my wedding - pictures of the program fan process was the absolute last thing on my mind.
So, we are going to make do with what I have lying around for me to show you the 'how to' of this...so don't judge me if it looks like a preK art project.
You've been forewarned!
Shopping List:
1. 8.5"x11" Card Stock Paper (pictured is 12"x12" but you want the size that fits in your printer which is usually a standard 8.5"x11")
2. Wood craft sticks (I found mine at the local craft store)
3. Spray adhesive
4. Ribbon
5. Tacky Glue/Glue Stick (for use on paper)

Additional Things You'll Need:
6. Paper Cutter (scissors work, but I don't cut so straight so I need mechanical assistance!)
7. Corner Trimmer (for those rounded edges)
8. Printer (not pictured)
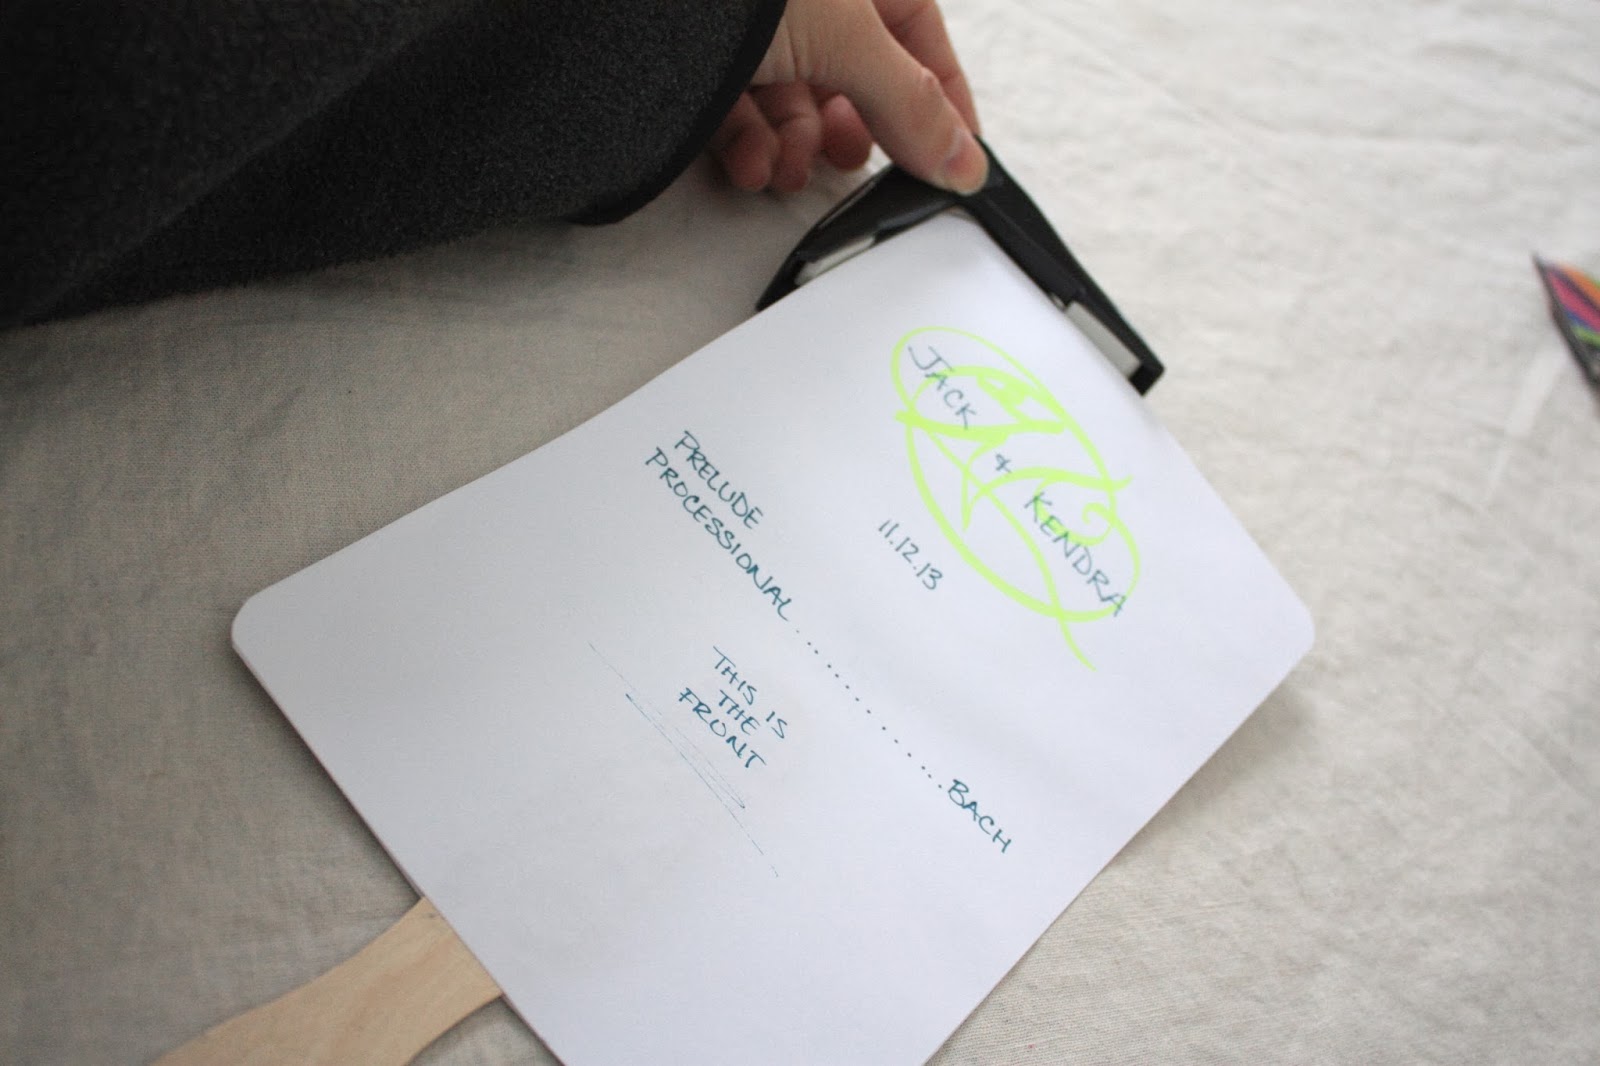
To start off, you will need to know if you want to do a two-sided or one-sided program and then figure out your wording. Mine was a two sided program with the list of events on one side and all the participants (parents, wedding party, musicians, ushers, etc.) on the opposite side.
Here is an example template of how I printed my information:

Once the document is printed and cut in half and you can verify that the information is correct, centered, and looking good; make sure that the two halves line up back to back and are of equal size.
Now for the assembly!
First you are going to butter up one side of your craft stick with glue:


Once it's smoothed, I set a book on top to keep it from pulling away while I moved on to the next step...although, honestly, that was probably unnecessary. Next, use your spray adhesive to completely cover the inside of the front of your fan:


Smooth both layers together to ensure good adhesion. You could be done at this point but I chose to round the corners of my fan with a little punch made specifically for the job (I got mine at the craft store). You could do this step at the beginning as well if you are an expert at lining things up perfectly when using spray adhesive...I am not:


This is really just a basic 'recipe' for program fans...you can fancy 'em up with multiple layers, spray painted craft sticks, rhinestones accents, etc...or keep 'em simple like I did!
Now I send you out better prepared and full of craftiness to take on your wedding...and then maybe...
THE WORLD!!
Program fans will do that to a person...fair warning.
No comments:
Post a Comment